
Overview
Mmmm peanut butter and it's saliva-inducing, melt in your mouth flavour. What could be better?
How about peanut butter bliss balls! Not only are these little balls jam-packed with flavour, but they're also an extremely healthy snack option that're relatively simple and straight forward to make.
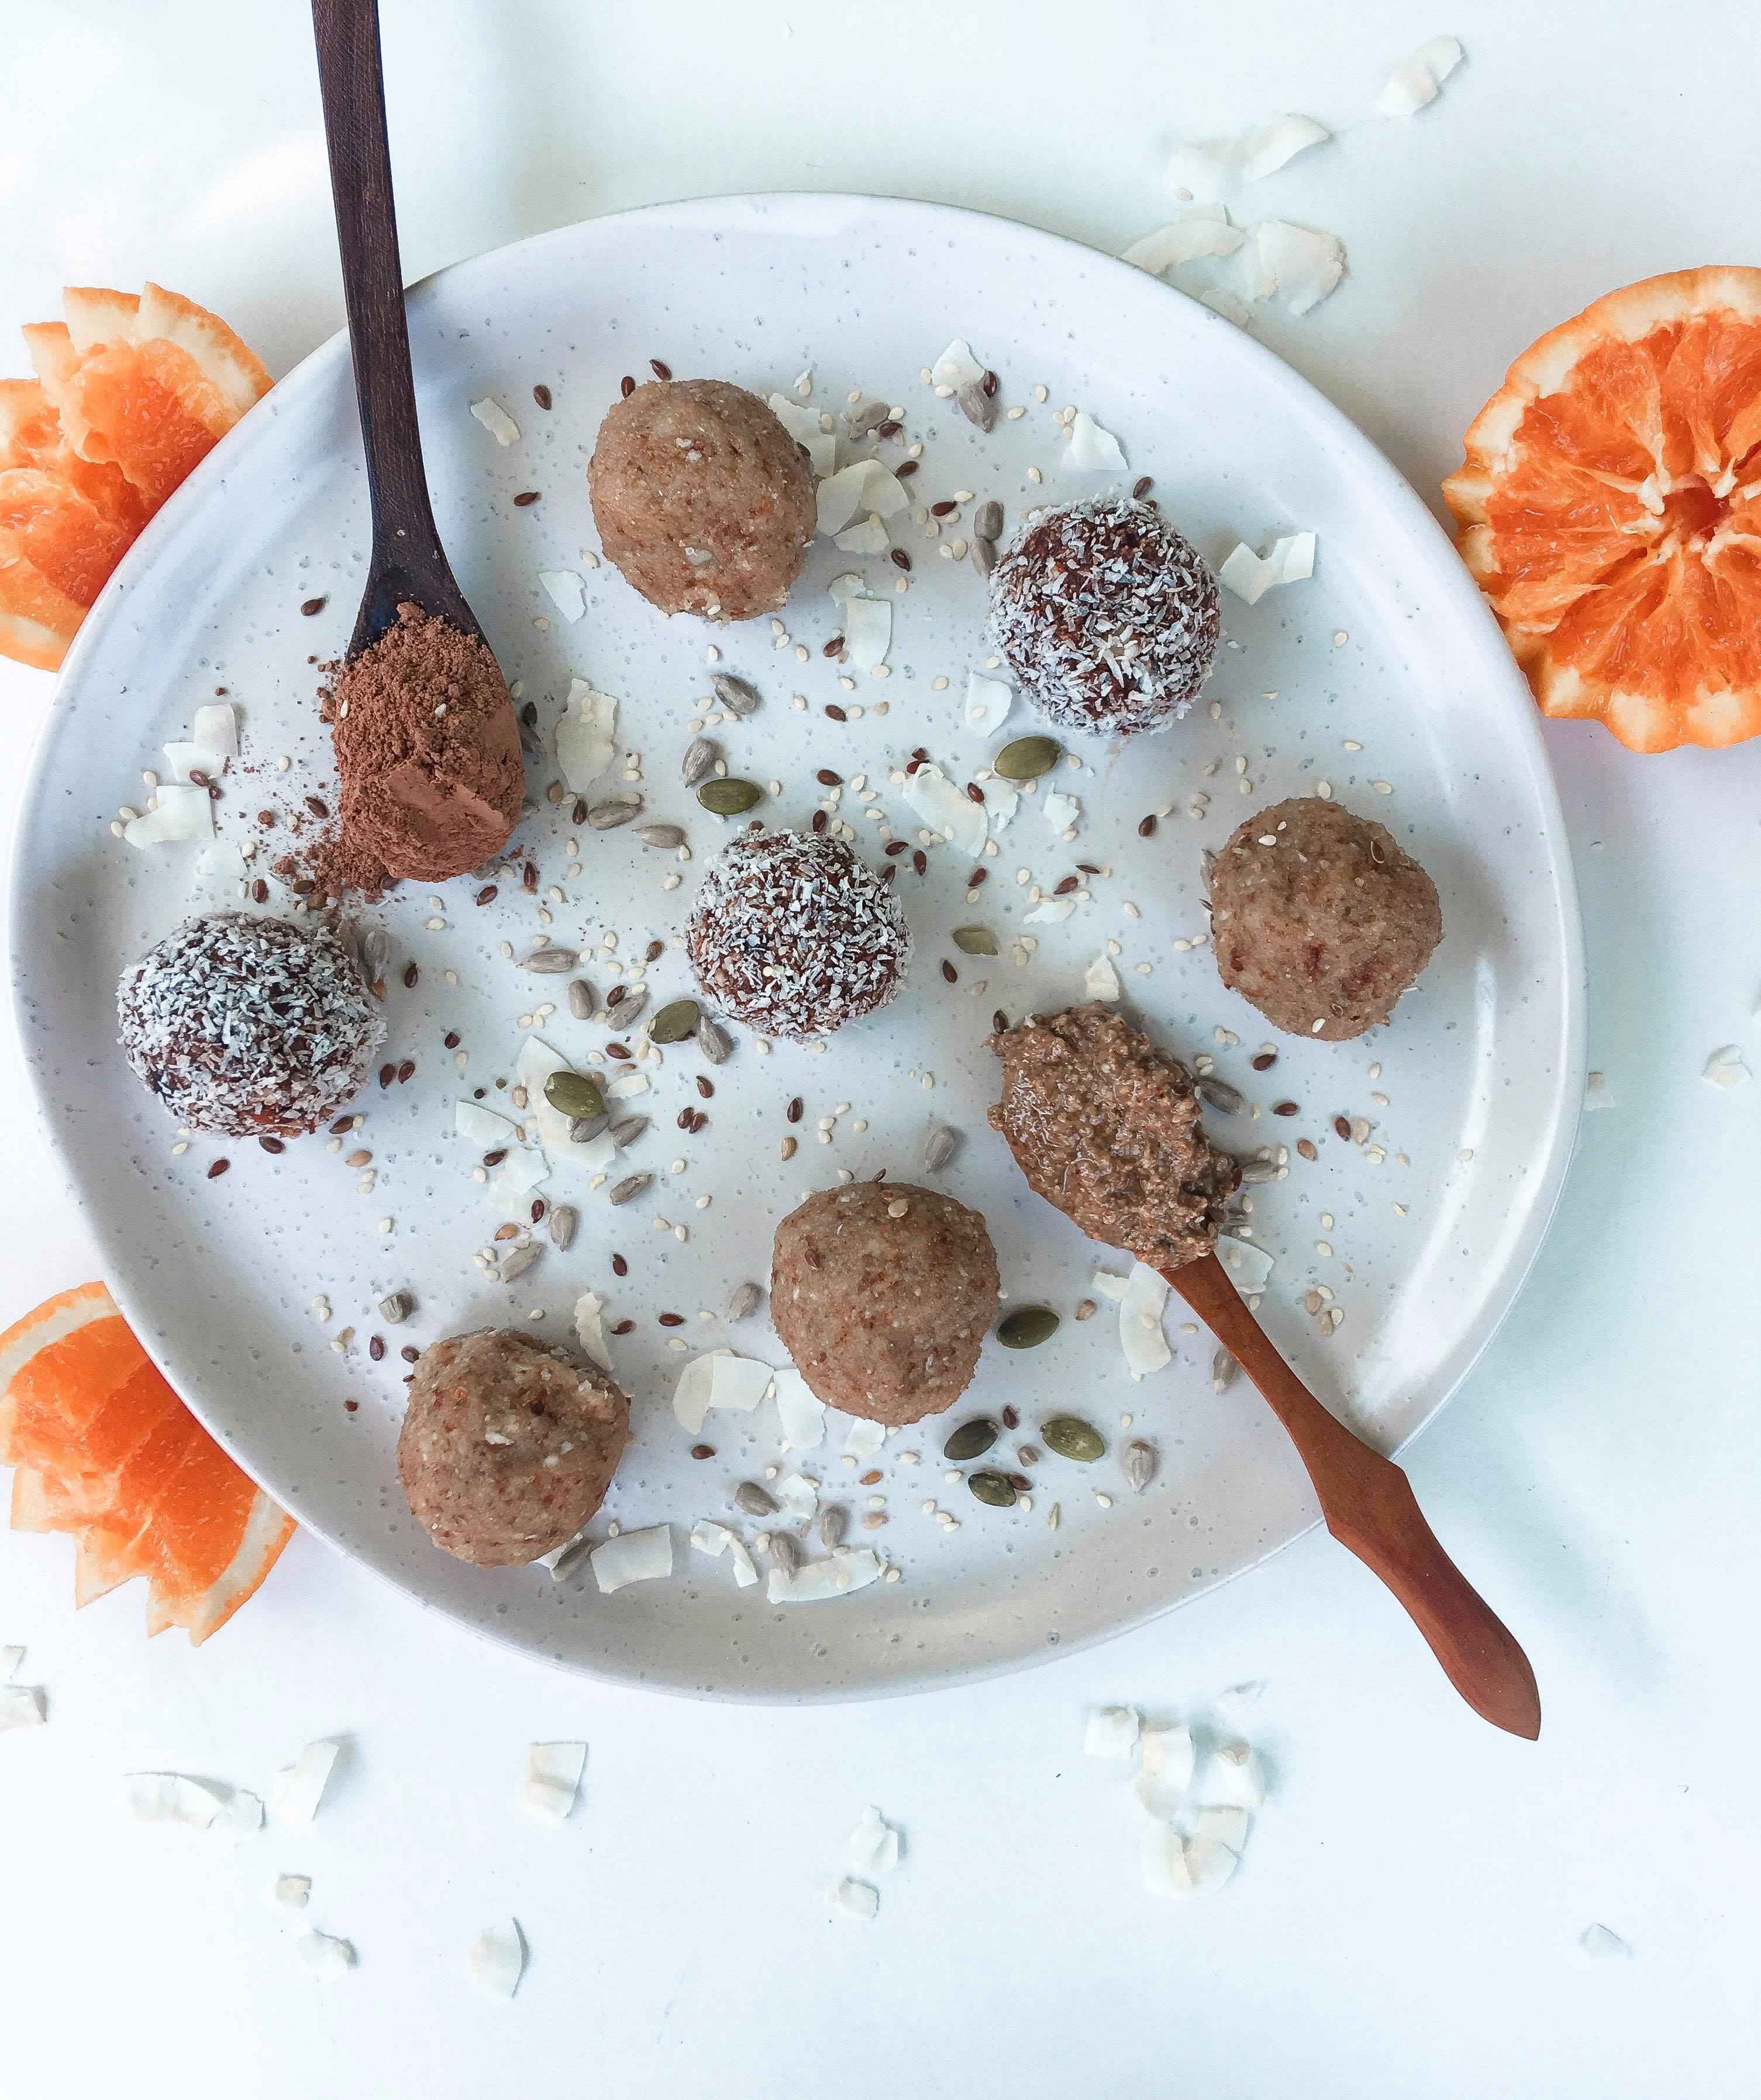
If you've looked at the photo above, you may have noticed that there are 2 distinctly different looking types of bliss balls sitting on the plate... And that's because they're two different flavours. The darker balls that're covered in coconut are my 'Choc-Orange Bliss Balls'. If you want a bit of variety in your snacking, then feel free to check them out later as well. They're also a super tasty option that're perfect at satisfying a chocolate craving without compromising your health.
But alas, today we're focussing on my heavenly 'Peanut Butter Bliss Balls'.
Please note that this recipe requires a food processor. If you don't have one, you can always try using a blender!
Taste & Consistency
These peanut butter bliss balls aren't as sweet as some of my other bliss ball recipes (such as my Salted-Caramel Bliss Balls), however, they pack a serious peanut butter kick. When playing around with this recipe, I achieved a slightly different consistency and texture every time; and it took me about 5 attempts to achieve the smooth peanut-butter-like consistency that you typically get when eating peanut butter by itself.
Thus, these Bliss Balls do tend to lean a little towards the softer side. So once you've made them, I would highly recommend storing them in the freezer. Surprisingly, you'll find that even straight out of the freezer, they'll still be soft and easy to eat. You can also try storing them in the fridge if you'd prefer.
World's Best Peanut Butter Bliss Balls Recipe
Ingredients
- 3 Medjool dates
- 2 Tbs peanut butter
- Ľ cup Almonds
- 2 Tbs Almond meal
- 1 Tbs water
- 1 Tbs maple syrup
Method
- Add all ingredients to a food processer and process until combined.
- If the mixture is to wet add more almond meal, if it is to dry add more water
- Roll in to balls.
- Refrigerate until ready to eat
- Enjoy!